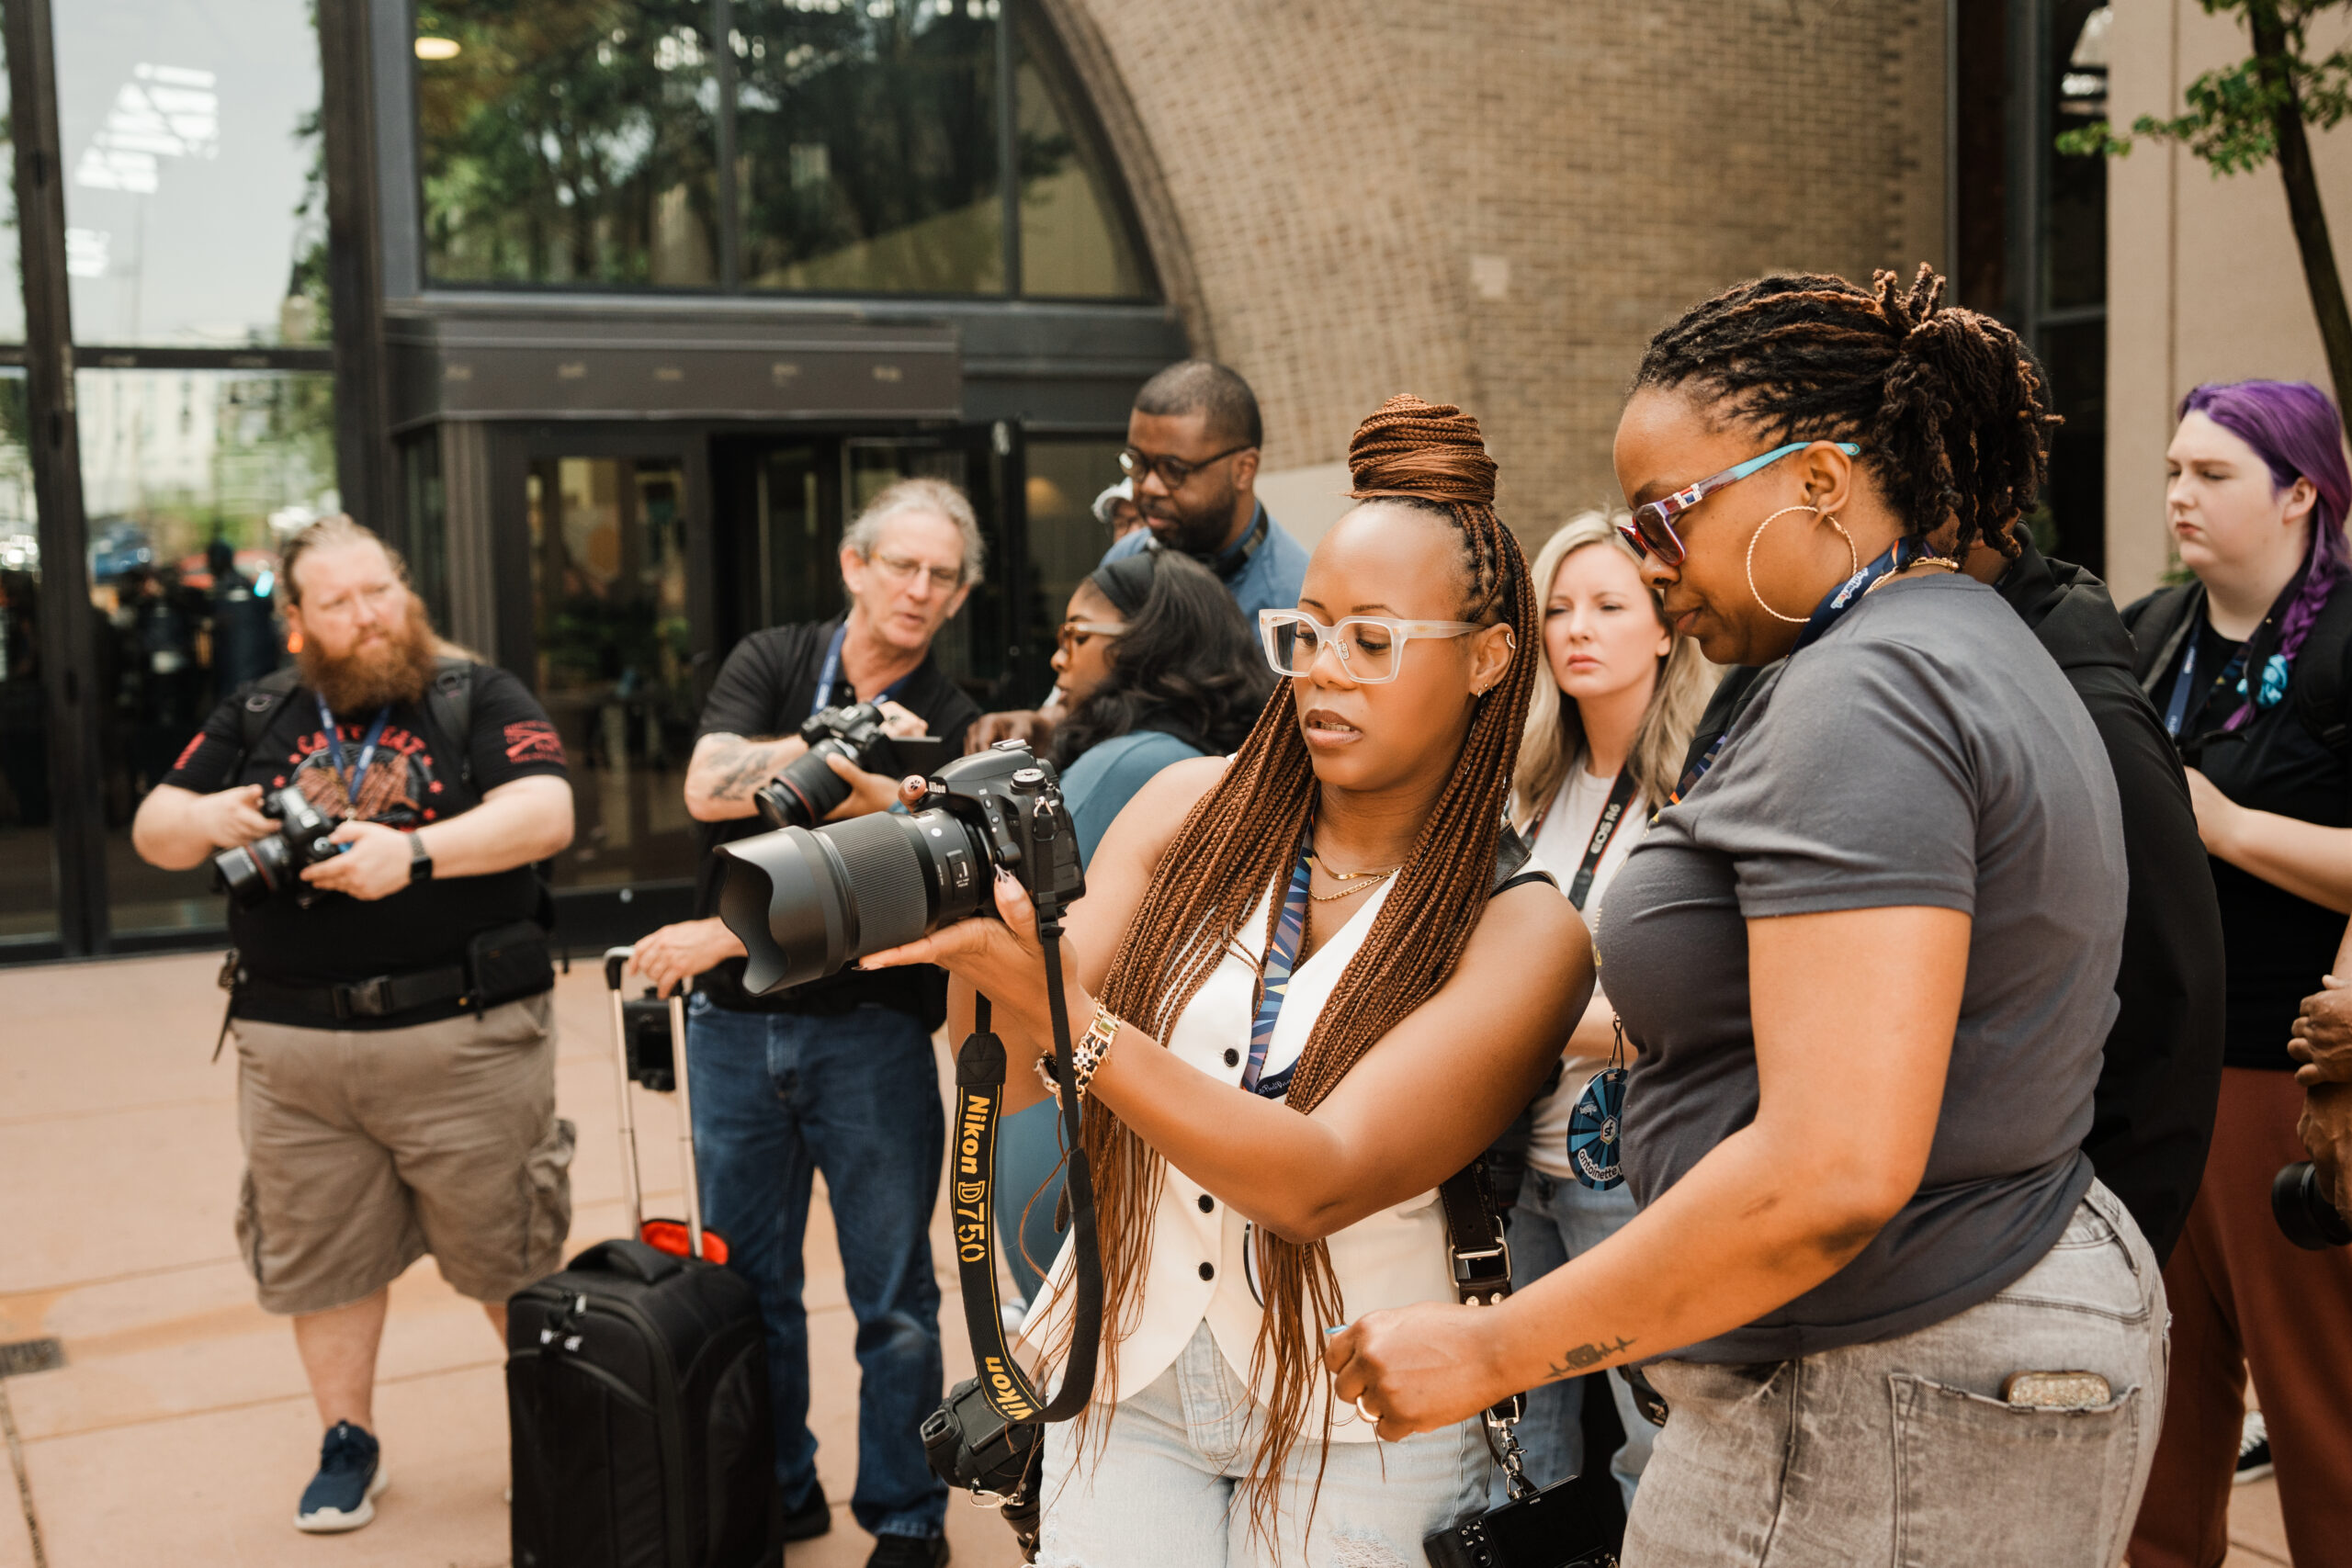


If there’s one thing I wish someone had handed me when I started my photography business, it’s a clear, honest look at another photographer’s workflow. Not the glamorous Instagram version — the real one. The one that includes culling 2,500 wedding images at midnight, chasing down unsigned contracts, and trying to remember if you sent that follow-up email.
My wedding photography workflow has evolved a lot over the years, and the biggest improvements didn’t come from shooting more — they came from using the right tools. Today I’m pulling back the curtain and sharing exactly how I run things at Captured by Candace, from the moment a client inquires to the day their gallery lands in their inbox.
And yes — I’ve included all my discount codes. You’re welcome.
Quick note: Some links in this post are affiliate links. If you sign up through my link I may earn a small commission at no extra cost to you. I only recommend tools I personally use and pay for.
What Is a Wedding Photography Workflow?
Your wedding photography workflow is the complete system you use to run your photography business — from client inquiry all the way through final delivery. A strong workflow means nothing falls through the cracks, your clients have a consistent experience, and you’re not reinventing the wheel for every single wedding.
Mine has four main stages: client management, culling and editing, gallery delivery, and album design. Here’s exactly what I use at each one.
Client Management: HoneyBook
Before HoneyBook, I was drowning.
Client emails lived in Gmail. Contracts were in one platform. Invoices were in another. I had a Google Sheet for tracking payments that I pretended to update regularly but absolutely did not. When someone inquired, I’d manually copy-paste a response, attach a pricing PDF, schedule a call through back-and-forth emails, send a contract link separately, then send an invoice link after that.
It was chaotic. It was unprofessional. Additionally, things were slipping through the cracks.
How HoneyBook Changed Everything
However, HoneyBook changed that overnight. It’s an all-in-one client management platform, and now my entire client journey lives in one place:
The moment someone fills out my contact form, HoneyBook sends an automated response with my pricing guide and a link to book a consultation call directly into my calendar. No back-and-forth emails. No “what times work for you?” The contract goes out automatically when they book. When they sign, the invoice follows automatically. Payment reminders? Automatic.
I send every couple a detailed wedding questionnaire before their big day — timeline, family dynamics, must-have shots, all of it — and it’s templated in HoneyBook so I’m not starting from scratch every time. I can manage everything from my phone between sessions. My clients get a seamless, polished experience from the very first email, and I spend a fraction of the time on admin.
HoneyBook made my business look like a business.
Try HoneyBook with my link and get 30% off your first year.
Culling & Editing: AfterShoot
This is the part of my workflow that used to break me.
A full wedding day means 5,000-9,000 images to cull. Then editing on top of that. I was spending 20-30 hours per gallery — entire days in front of my computer when I could have been with my family, shooting, or just resting.
I tried outsourcing. Unfortunately, the editors were talented, but they didn’t understand my True Tone methodology — how light renders differently across skin tones, how to expose for interracial couples so both people look their best. I was spending almost as much time correcting their work as I would have spent doing it myself.
However, AfterShoot completely changed this. It’s an AI-powered tool that culls and edits for me — and I mean actually for me, trained on my own editing style.
Here’s what happens now: I come home from a wedding. Back up my cards. Drag the folder into AfterShoot. Then I walk away. Ten to fifteen minutes later, it’s analyzed every image, grouped burst sequences, flagged soft focus and blinks, and pre-selected the keepers. I review the selections — swap out a frame here or there, add back an intentionally soft moment the AI didn’t know was meaningful — and what used to take six hours now takes 45 minutes.
Then AfterShoot applies my custom editing profile. The one I trained it on using 30,000+ of my own edited images. It handles exposure, white balance, color grading, tone — all the foundational work that used to take hours. For most weddings, this gets me 90% of the way there. I add my finishing touches, and I’m done.
As a result, what used to take 20-30 hours now takes 8-12 hours total. That’s real time back in my life.
Why AfterShoot Stayed in My Workflow
If you’re still culling manually, this is the single biggest upgrade you can make to your workflow right now. I wrote an entire post about how I use it — read my full AfterShoot review here.
Start your free 30-day trial here — no credit card required. Use code Candace15 to save 15% when you subscribe.
Gallery Delivery: Pic-Time
Your gallery delivery is part of your client experience.
When a couple opens their gallery for the first time, that moment should feel as special as the photos inside it. A clunky, generic delivery platform undercuts all the work you put into your images.
Pic-Time is where every single one of my galleries lives, and my couples always comment on how beautiful it is. But beyond the gorgeous presentation, Pic-Time is a serious business tool.
Clients can order prints, canvases, and albums directly from their gallery. Additionally, Pic-Time runs automated marketing campaigns for me — abandoned cart reminders, holiday promos, seasonal sales — that boost print revenue while I sleep. I can add music to create an emotional slideshow for the first reveal and deliver films alongside photos in the same gallery.
The automated print marketing alone has generated passive income for me without any extra effort. If you’re delivering galleries through Dropbox or a basic platform, you’re leaving money and brand equity on the table.
Try Pic-Time with my referral link.
Album Design: SmartAlbums
Albums used to be the part of my workflow I dreaded most.
Not because I don’t love them — I do. However, designing them was so time-consuming. For instance, a full wedding album could take me an entire day to design from scratch. Laying out spreads, tweaking alignment, exporting for the lab, proofing with clients through endless email threads.
SmartAlbums by Pixellu cut that down to under 30 minutes.
I drop my images in. SmartAlbums auto-designs the spreads using my metadata and image content. I tweak layouts, adjust photos, change colors and fonts to match my style. Bleeds, margins, and print specs are handled automatically for every major lab. I share a beautiful draft with clients and collect feedback without leaving the app. When it’s approved, I export and send it to the lab.
Being able to offer albums without dreading the design process has genuinely helped me sell more of them. My couples get a beautiful product, and I get a workflow that doesn’t burn me out.
Try SmartAlbums and use code CBC at checkout to save.
Are you trying to build a workflow that doesn’t burn you out?
Reach out here — I love talking shop with fellow photographers. Or book a 1:1 session with me and we’ll dig into your specific setup.
My Full Workflow: Start to Finish
Here’s how everything connects in my real wedding photography workflow:
Couple inquires — HoneyBook sends an automated response and books a consultation call
Couple books — HoneyBook sends the contract and invoice automatically
Wedding day — I shoot, come home, back up cards immediately
Culling — AfterShoot culls 5,000+ images in minutes
Editing — AfterShoot applies my style; I review and refine in Lightroom
Gallery delivery — Images go to Pic-Time; couple gets a beautiful gallery link
Print sales — Pic-Time’s automated campaigns follow up with clients about prints
Album design — SmartAlbums builds a draft in minutes; I proof it with the client through the app
Printing — Album goes to my trusted print lab
Post-wedding follow up — HoneyBook sends a review request and thank you automatically
The whole system runs largely on autopilot — which is exactly how it should be.
All My Tools & Discount Codes in One Place
Want all my tools, discount codes, and affiliate links in one place? I’ve put together a dedicated photographer resources page just for you.
Visit my Photographer Resources page.
Final Thoughts
A streamlined wedding photography workflow doesn’t happen overnight — but every tool you add that saves you time or stress is a win.
Start with the stage that’s costing you the most right now. For example, drowning in admin? Start with HoneyBook. Spending too long culling and editing? Start with AfterShoot. Gallery delivery feels unprofessional? Start with Pic-Time. Albums taking forever to design? Start with SmartAlbums.
You don’t have to overhaul everything at once. Pick one thing, implement it, and watch how much breathing room it creates.
Have questions about any of these tools or how I’ve set them up? Reach out here — I love talking shop with fellow photographers.
And if you want personalized help building out your workflow, book a 1:1 session with me. We’ll dig into your specific situation and figure out exactly what will make the biggest difference for your business.
Candace Connor is a Seattle-based wedding and portrait photographer and the founder of Captured by Candace Photography. She has been featured in Brides, Black Bride, MunaLuchi Bride, Equally Wed, and King 5 News.